Sub-Zero Condenser Cleaning: The Maintenance Step That Saves Your Compressor
A clogged condenser is the #1 preventable cause of Sub-Zero compressor failure. Here's how often to clean it, what to use, and the warning signs you waited too long.
Expert answer
Quick answer for homeowners
Clean a Sub-Zero condenser every six months in most Orange County homes, and every three months when pets, remodeling dust, or coastal air are part of the environment. A blocked condenser makes the compressor run hotter and longer, which is one of the most preventable causes of expensive Sub-Zero refrigerator repair.
- Visible dust at the grille means the condenser is already overdue.
- Use a condenser brush and vacuum; canned air can push debris deeper into the coil.
- Oil on the coil is not normal dirt and should be inspected by a refrigerator technician.
Reviewed for accuracy
Reviewed by Akra Appliance Repair technicians
This guide is reviewed by the Akra Appliance Repair team that services premium appliances across Irvine and Orange County. California-Licensed Appliance Repair · BHGS Reg. #A50034 · EPA 608 Certified · Licensed & Insured. Last updated: August 12, 2025.
If you own a Sub-Zero built-in or integrated column, the single most important maintenance task in your kitchen is one most homeowners never perform: cleaning the condenser coil behind the grille. Sub-Zero engineers their sealed systems for decades of service, but only if the condenser can actually shed heat. When pet hair, lint, and OC dust pack into the coil, the compressor runs hotter, runs longer, and eventually fails — usually somewhere north of a $1,800 repair.
We see this failure mode constantly in homes from Newport Coast to Yorba Linda. The good news: a 15-minute cleaning every six months prevents almost all of it. Here is exactly how our techs do it, what tools to use, and the warning signs that mean you should call us instead of cleaning it yourself.
Why the Condenser Matters More Than Any Other Part
A refrigerator's condenser is the radiator that releases the heat pulled out of your food compartment. On a freestanding 1990s fridge, the coil is exposed on the back and gets some passive airflow. On a modern Sub-Zero built-in, the condenser is hidden behind the toe-kick grille, cooled by a forced-air fan, and packed into a tight cabinet pocket. That design looks beautiful but it is also a magnet for everything that drifts across your kitchen floor.
When the coil is even 30% blocked, head pressure climbs, the compressor cycles longer to hit setpoint, and amperage draw rises. You will not necessarily notice — Sub-Zero compressors are quiet and the unit will still cool — but the wear is cumulative. By the time the food compartment is running warm, the damage is already done.
How Often to Clean
- Every 6 months for most Orange County homes.
- Every 3 months if you have a shedding dog or cat, or your kitchen is open to a high-traffic entry.
- Every 3 months for any unit installed within 2 miles of the coast — salt air accelerates dust binding.
- Immediately if you have done any remodeling work in the last 90 days. Drywall dust is the worst offender we see.
Tools You Actually Need
Skip the canned air. It blows debris deeper into the coil and into the evaporator fan motor. You want a soft-bristle appliance condenser brush (about $15 on Amazon, sold as a 'refrigerator coil brush') and a shop vacuum with a brush attachment. A flashlight helps you see what you are doing.
The Cleaning Steps
- Unplug the unit or trip the dedicated breaker. Sub-Zero condenser fans run at line voltage and a brushed accident is not worth the savings.
- Remove the front grille. On 600 Series and Classic models the grille lifts straight up off two pins. On Designer and PRO 48 models there are usually two screws on the underside.
- Vacuum the visible coil face first. Use the brush attachment, work top to bottom, and let the vacuum do the lifting.
- Insert the coil brush and pull, do not push. Pushing packs debris deeper. Pull the brush out toward you and re-vacuum.
- Repeat until the fins look uniformly clean. On a well-maintained unit this takes five minutes. On a unit that has not been cleaned in three years it can take thirty.
- Wipe the grille, reinstall, and restore power. Listen for the compressor to start within 3-5 minutes.
If the coil looks oily or greasy rather than dusty, that is refrigerant oil leaking from a fitting — not normal dirt. Do not clean it. Call us at (909) 455-9966. Continuing to run the unit risks a full sealed-system failure.
What Else to Check While You Are Down There
While the grille is off, take 60 seconds to look at the condenser fan blade. It should be clean and spin freely if you nudge it. If it is coated in dust or wobbles, the bearings are going and a fan replacement now is much cheaper than the compressor it is about to take out. Also glance at the floor under the unit for any water staining — that points to a clogged condensate drain, which is its own service call.
When DIY Cleaning Is Not Enough
If your Sub-Zero is more than ten years old and has never had professional service, a homeowner brush-down only addresses the front face of the coil. The back side, the fan housing, and the drain pan all accumulate the same debris and need to be cleaned properly. Our standard Sub-Zero preventive maintenance visit includes a full grille-off coil clean, fan inspection, drain flush, door gasket check, and a refrigerant performance test — typically 45 minutes on site.
How Often to Repeat This in OC
For most Orange County homes, twice a year is the right cadence — once in spring before summer heat loads, and once in fall after the worst of the dust season. Homes with shedding pets or near construction zones often need quarterly cleanings. If you can see visible dust on the grille from a normal standing position, you are overdue regardless of when you last cleaned.
Booking a maintenance visit before something fails is dramatically cheaper than the repair you avoid. Call (909) 455-9966 or schedule online and we will get a Sub-Zero specialist to your home.
Expert FAQ
How often should a Sub-Zero condenser be cleaned in Orange County?
Most Sub-Zero built-in refrigerators should have the condenser cleaned every six months. Homes with shedding pets, recent remodeling, or coastal dust often need cleaning every three months.
Can a dirty condenser damage a Sub-Zero compressor?
Yes. A packed condenser raises operating temperature and compressor run time. If that continues long enough, it can lead to compressor or sealed-system failure.
When should I call for Sub-Zero refrigerator service instead of cleaning it myself?
Call for service if the coil looks oily, the refrigerator is not cooling, the condenser fan is noisy, or the unit is more than ten years old and has never had professional maintenance.
Related repair pages
Use these internal links to continue from this expert guide to the matching service, brand, location, promotion, and scheduling pages.
More From the Blog

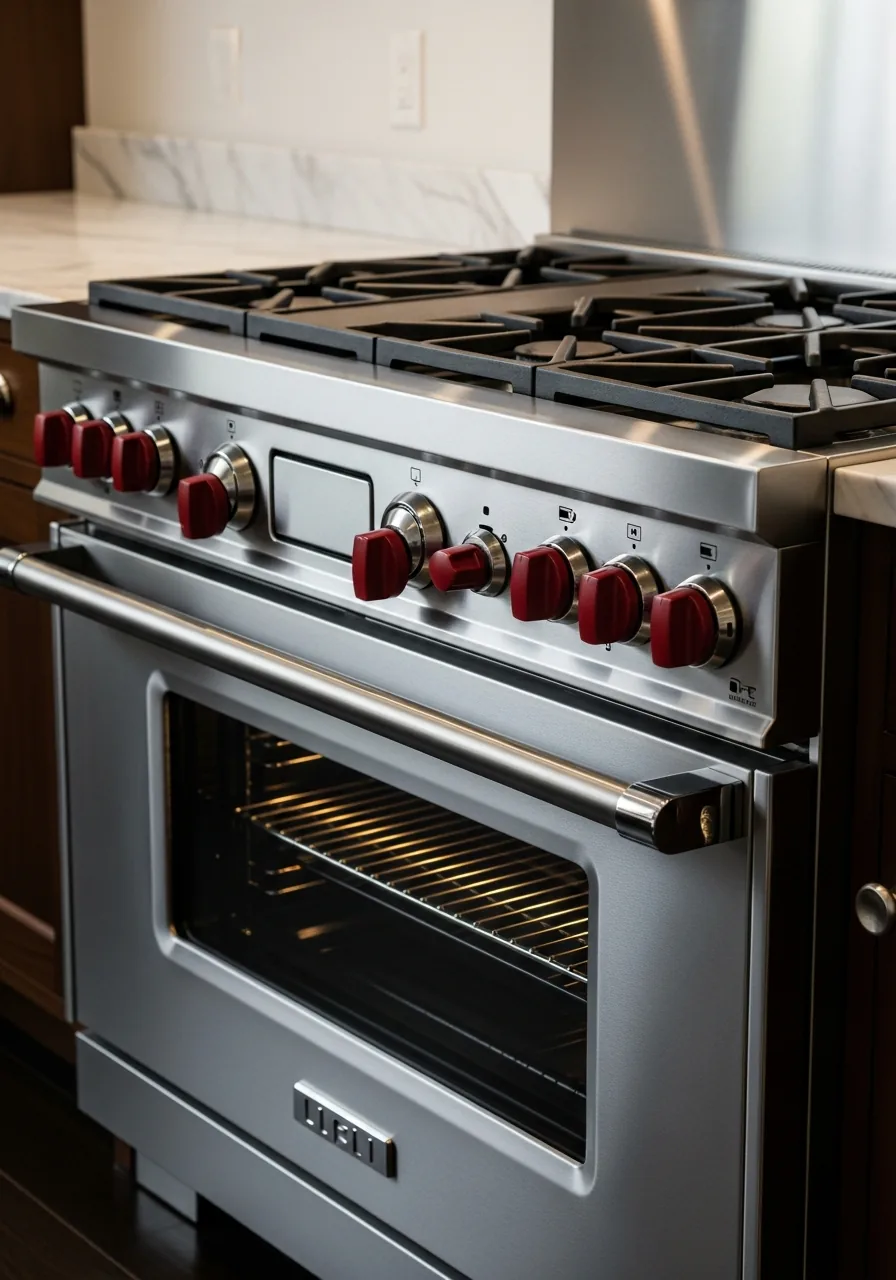
Wolf Range Burner Maintenance: Keeping That Red Knob Performance Year After Year
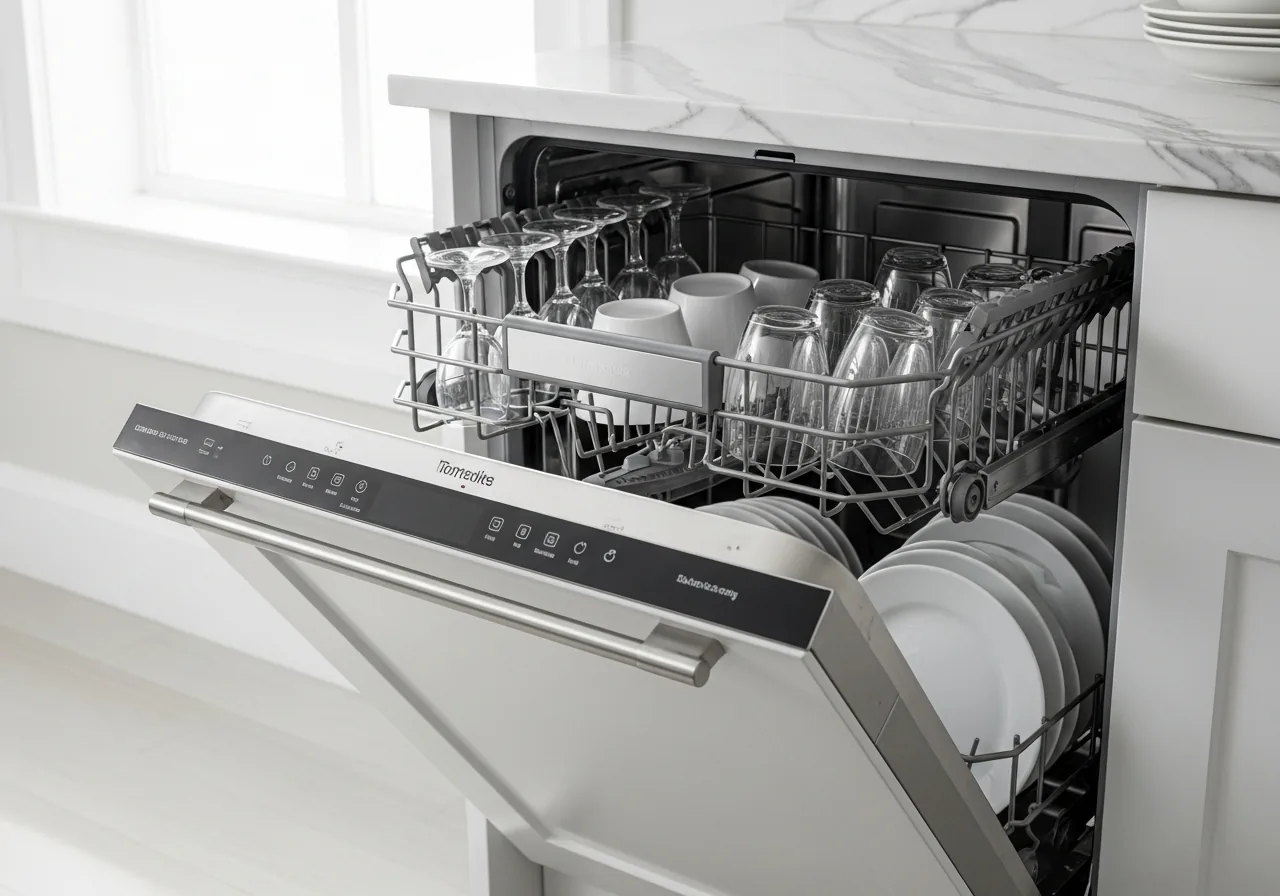
Miele Dishwasher Filter Care: The 5-Minute Habit That Doubles Pump Life
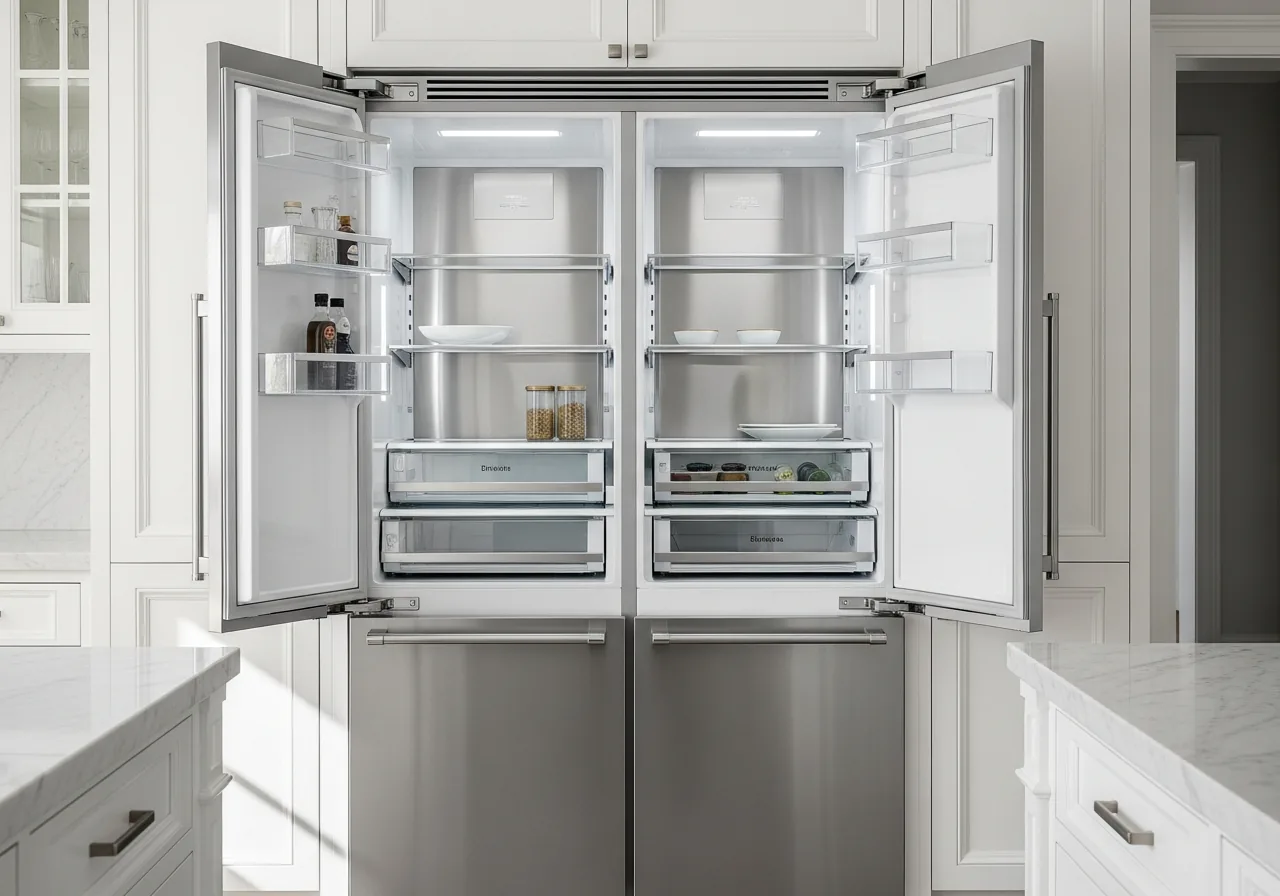
Extending the Life of Your Viking Refrigerator: A 12-Year Maintenance Plan
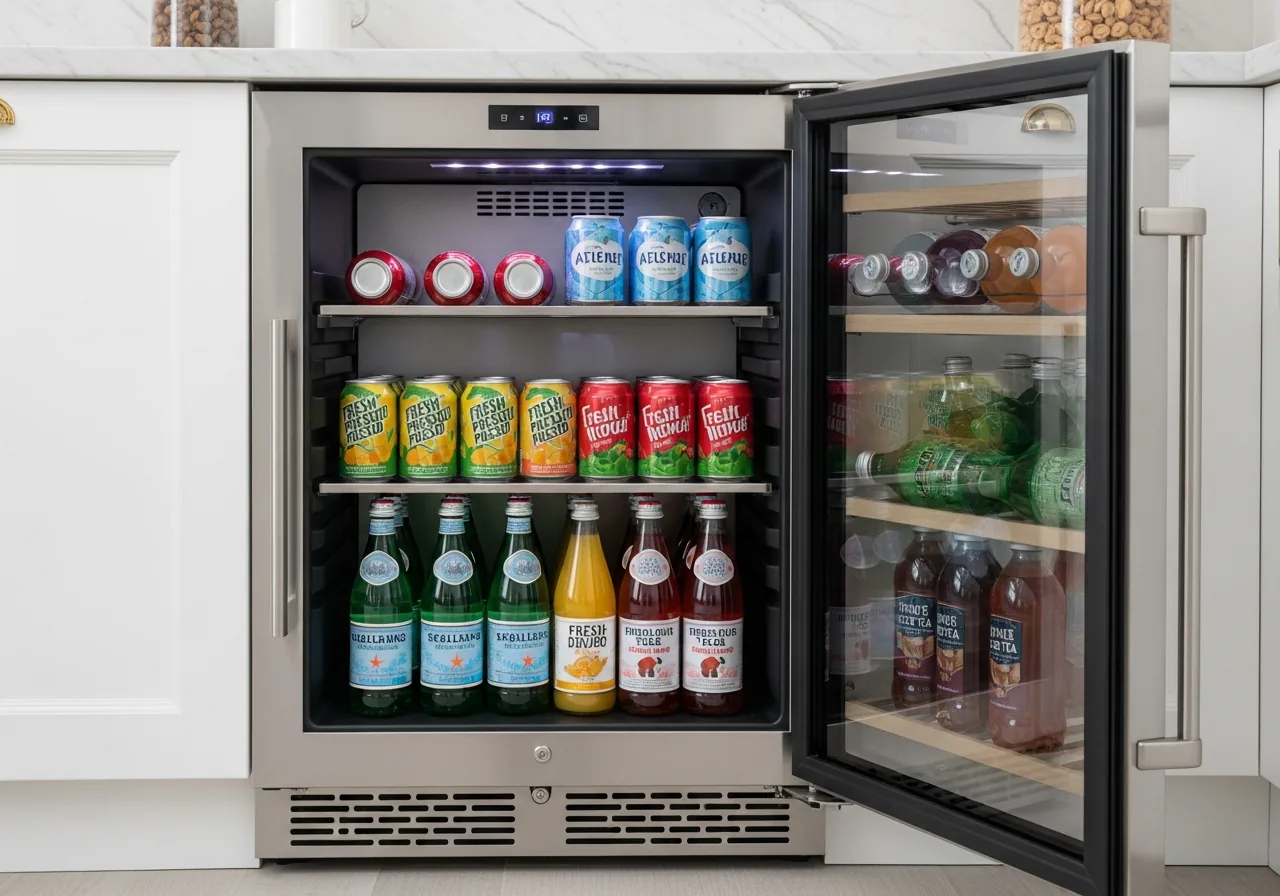
Beverage Cooler Temperature and Condensation: What to Check
Sub-Zero Ice Maker Not Working? The 7-Point Diagnostic We Run Before Replacing Anything